Planning an educational tour is one of the most rewarding responsibilities a teacher can undertake, but it also demands careful preparation, thoughtful coordination, and a clear sense of purpose. A well-organized trip can transform a routine academic year into an unforgettable learning experience that students carry with them long after they return to the classroom. This comprehensive guide walks you through every stage of the planning process, from defining your educational goals all the way to assessing outcomes after the trip concludes.
Step 1: Define Clear Learning Objectives
Every successful educational tour begins with a well-defined purpose. Before you research destinations, book transport, or send out permission slips, sit down with your department colleagues and ask a fundamental question: what do we want our students to learn from this experience?
Your objectives should align directly with your curriculum. If your class is studying Indian history, a heritage tour through Rajasthan or Delhi makes perfect sense. If your students are learning about ecosystems and biodiversity, a trip to a national park or a coastal wetland reserve would serve the purpose far more effectively than a city tour. Write your objectives down and make them specific and measurable.
- Identify the subjects and syllabus topics the tour should reinforce
- Set two to three primary learning outcomes for the entire trip
- Plan at least one hands-on activity or workshop at each major stop
- Discuss objectives with fellow teachers so interdisciplinary connections can be drawn
A trip without a learning objective is just a holiday. Define what success looks like before the bus leaves the school gate.
Step 2: Choose the Right Destination
Once your learning objectives are clear, selecting the right destination becomes far easier. Consider the academic relevance first, but also weigh practical factors such as distance, climate during the travel period, the availability of guided educational activities, and the overall safety profile of the location.
Speak with travel partners who specialize in educational tours. Companies like Tripademy can suggest destinations that have been vetted for both educational value and logistical reliability. They can also recommend local guides who understand how to engage school-aged audiences and tailor their commentary to different grade levels.
- Match the destination to your curriculum goals and grade level
- Evaluate the travel distance and determine whether air, rail, or road transport is most appropriate
- Research weather conditions during your intended travel window
- Confirm the availability of student-friendly accommodation and dining options
- Ensure the destination has adequate medical facilities nearby
Step 3: Build a Realistic Budget
Budgeting is often the stage where ambitious plans meet practical constraints. Start by listing every foreseeable expense: transport, accommodation, meals, entry fees, guide charges, activity costs, insurance premiums, and a contingency fund for unexpected situations. Once you have a total estimate, divide it by the number of participating students to arrive at the per-student cost.
Transparency with parents is essential. Provide a detailed cost breakdown rather than a lump sum figure. Parents are far more willing to approve expenditure when they can see exactly where the money is going. Also explore group discount opportunities, early booking offers, and government subsidies for educational travel that many state education boards provide.
- Transport costs (fuel, tolls, driver allowances, or airfare)
- Accommodation for students and accompanying staff
- Three meals per day plus snacks and hydration
- Entry tickets to museums, forts, parks, and workshops
- Travel insurance covering medical emergencies and trip cancellation
- Contingency reserve of ten to fifteen percent of the total budget
Step 4: Secure Parent Consent and Communication
Open and proactive communication with parents builds the trust that makes educational tours possible. Begin by sending a detailed information circular at least six to eight weeks before the departure date. This document should cover the itinerary, costs, safety measures, medical arrangements, chaperone details, and contact numbers for emergencies.
Follow up the circular with a parent meeting, either in person or online. Give parents the opportunity to ask questions, voice concerns, and understand exactly how their children will be supervised. Collect signed consent forms that include medical history disclosures, allergy information, dietary restrictions, and emergency contact details. No student should board the bus without a completed and signed consent form on file.
Communication is the bridge between a school's planning and a parent's peace of mind. Build that bridge early and make it strong.
Step 5: Design a Detailed Itinerary
Your itinerary is the backbone of the entire trip. It should balance structured learning sessions with free time, physical activity with rest, and group experiences with moments for individual reflection. Avoid the temptation to pack every hour with activities. Over-scheduling leads to fatigue, disengagement, and missed learning opportunities.
For each day, outline the morning activity, afternoon engagement, and evening program. Include travel time between locations, meal breaks, and buffer periods for delays. Share the itinerary with all accompanying staff so everyone understands the flow of the day and can manage student expectations effectively.
- Allocate sixty to ninety minutes per major site visit or activity
- Schedule at least two meal breaks and one snack stop per day
- Build in thirty-minute buffer periods to absorb delays
- Include one evening reflection or journaling session per day
- Plan an indoor alternative for every outdoor activity in case of weather disruption
Step 6: Organize Transport and Logistics
Transportation is the practical spine of your tour. Whether you are traveling by chartered bus, train, or flight, ensure that the vehicles meet all safety standards, the drivers are licensed and experienced, and the seating arrangements are comfortable for long journeys. For bus travel, confirm that seatbelts are functional, the air conditioning is operational, and a first-aid kit is onboard.
Coordinate luggage logistics in advance. Provide students with a packing checklist and weight limits. Assign boarding groups to speed up departures, and always conduct a headcount before the vehicle moves from any location. If the trip involves multiple modes of transport, prepare a transition plan for each changeover point.
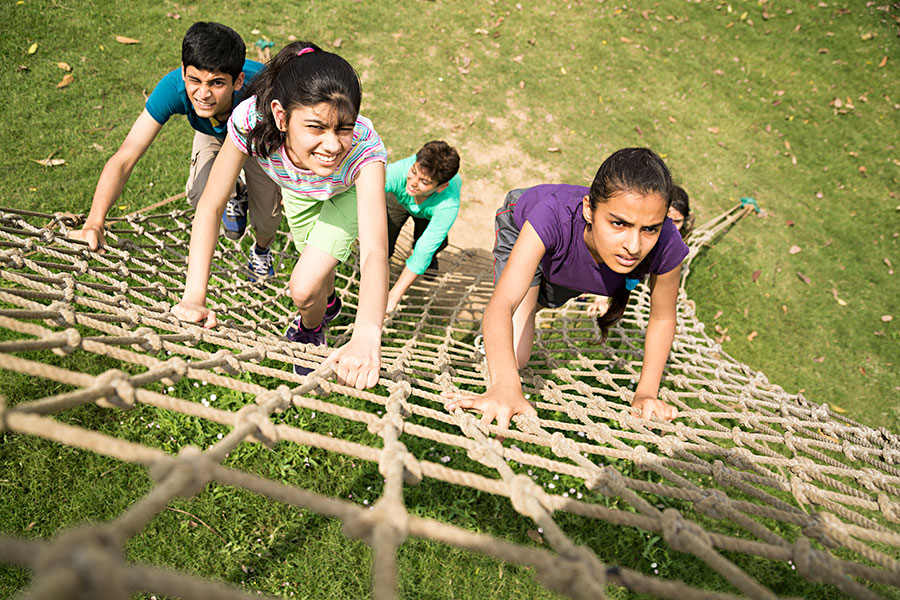
Step 7: Establish Comprehensive Safety Protocols
Student safety is non-negotiable. Every educational tour must have a written safety protocol that all staff members understand and can execute without hesitation. This protocol should cover medical emergencies, lost students, severe weather, vehicle breakdowns, and any destination-specific risks.
- Maintain a teacher-to-student ratio of no more than 1:10 for younger groups and 1:15 for senior students
- Carry a fully stocked first-aid kit and ensure at least one staff member holds a valid first-aid certification
- Share emergency contact numbers with all staff, students, and parents before departure
- Implement a buddy system so every student is paired with a travel partner
- Conduct a safety briefing at the start of the trip and at each new location
- Identify the nearest hospital or clinic at every destination stop
Step 8: Conduct Post-Trip Assessment
The learning does not end when the bus pulls back into the school parking lot. A structured post-trip assessment helps you measure whether the educational objectives were met and provides valuable insights for planning future tours. Ask students to complete reflection journals, present what they learned to their classmates, or submit a short project based on their trip experiences.
Gather feedback from accompanying teachers, parents, and the students themselves. What worked well? What could be improved? Were the learning objectives achieved? Was the budget adequate? This feedback loop transforms every tour into a stepping stone for the next one, ensuring that each successive trip is better organized, more impactful, and more enjoyable for everyone involved.
The best educational tours are not the ones with the most stops on the itinerary. They are the ones where students return home seeing the world a little differently than when they left.
Planning an educational tour requires effort, patience, and attention to detail, but the rewards are immeasurable. When you watch a student's eyes light up as history comes alive before them, or hear them explain a scientific concept using real-world examples from their trip, you realize that no textbook could ever replicate that moment. Follow this framework, collaborate with experienced travel partners like Tripademy, and give your students the gift of learning beyond the classroom.